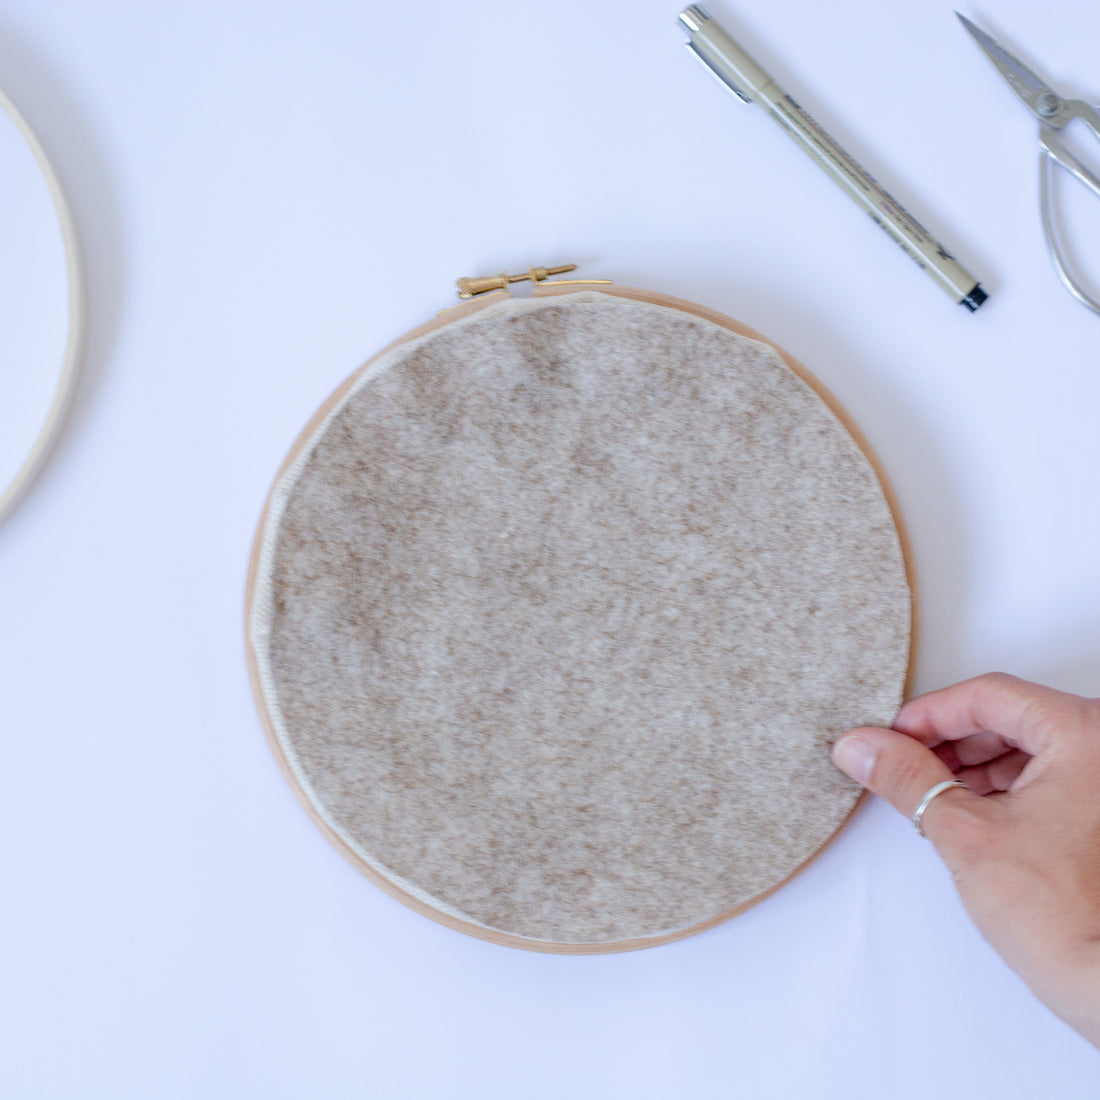
My preferred method when displaying a piece in an embroidery hoop is using felt fabric to cover the back. I think it gives it a really neat and tidy finish. Below are the steps you will want to take to do this.
If you're using monk's cloth, or another fabric that frays, you may want to secure the edges before you start to trim the fabric. You can do this using fabric glue or the zig zag stitch on a sewing machine. Trim the monk’s cloth or other foundation fabric, leaving 2.5cm (1 inch) around the entire piece.

Using two or three strands of sewing thread, you will want to hand sew a running stitch the whole way around. Tie a knot on the end of the thread. You will want to secure your first stitch by going over it a few times, then sew the running stitch about 1.5cm (1/2 inch) into the fabric.

Pull on the thread so that the fabric gathers. Ensure the last stitch is secured by going over it a few times. Then knot and trim the thread.
Place the outer hoop of your non-grip hoop onto the craft felt fabric and trace using a black pen. Then cut out the circle.

Centre the fabric onto the back of your piece in position. You may want to secure it in place with pins.


If like me, you learn better through watching videos, I've now created a video which takes you through this step by step.

